Anatomical models and small technical parts, printed in our workshop.
Surgical planning
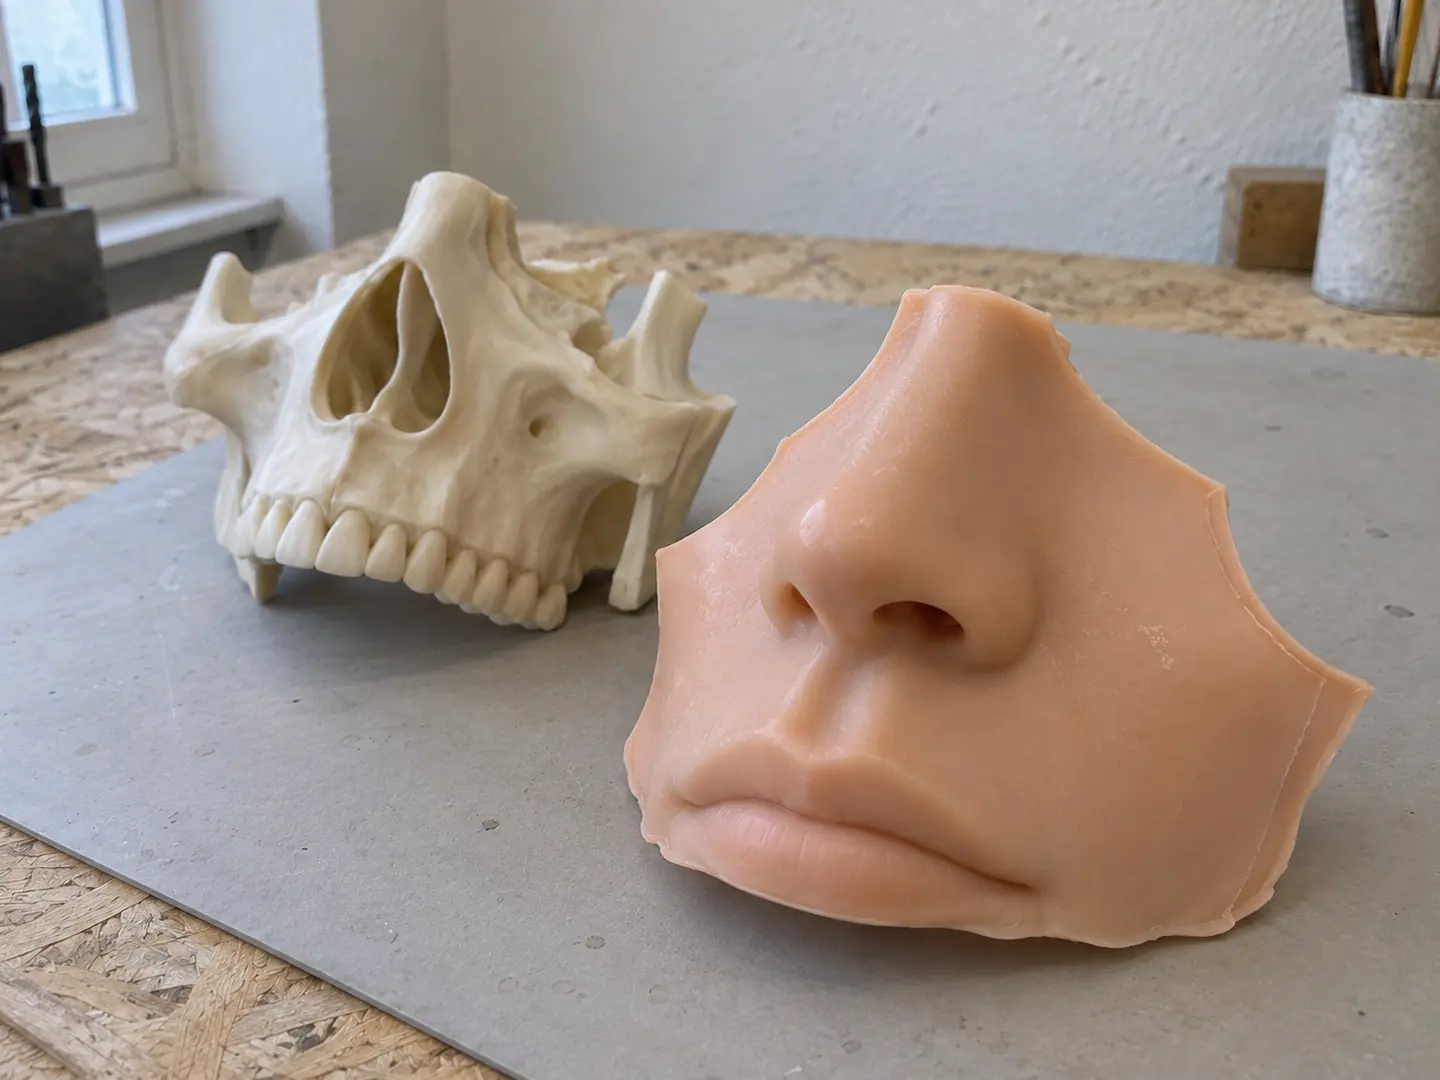
Bone and soft tissue, in one model
Multi-material anatomy
A physical view of the structures hidden beneath the surface.
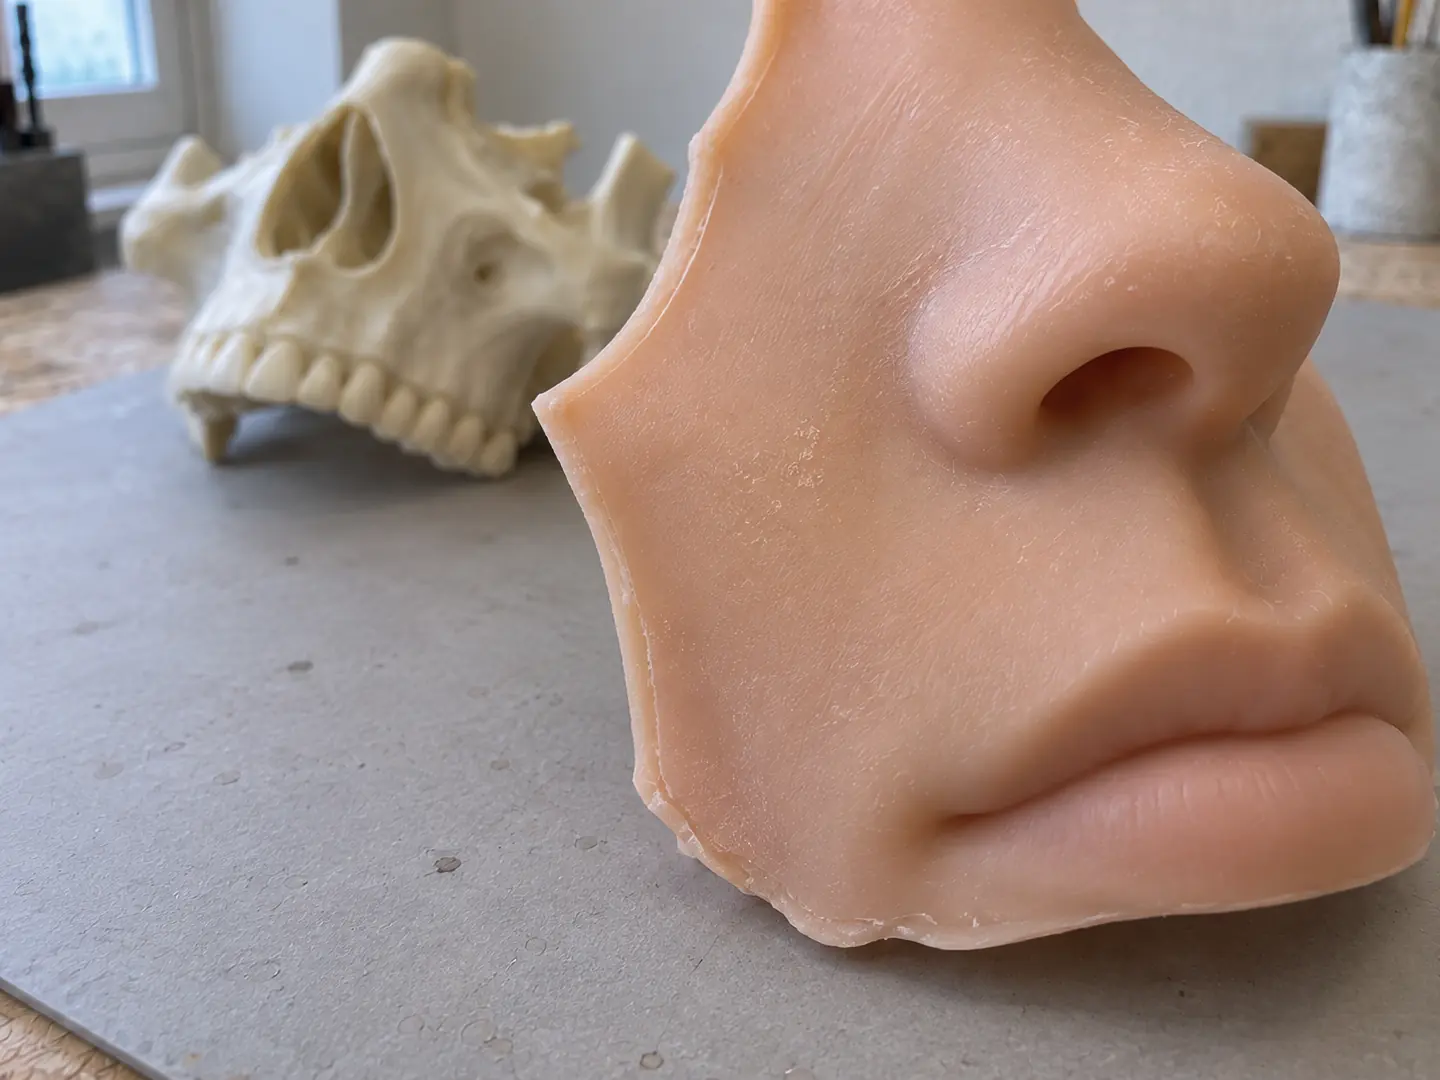
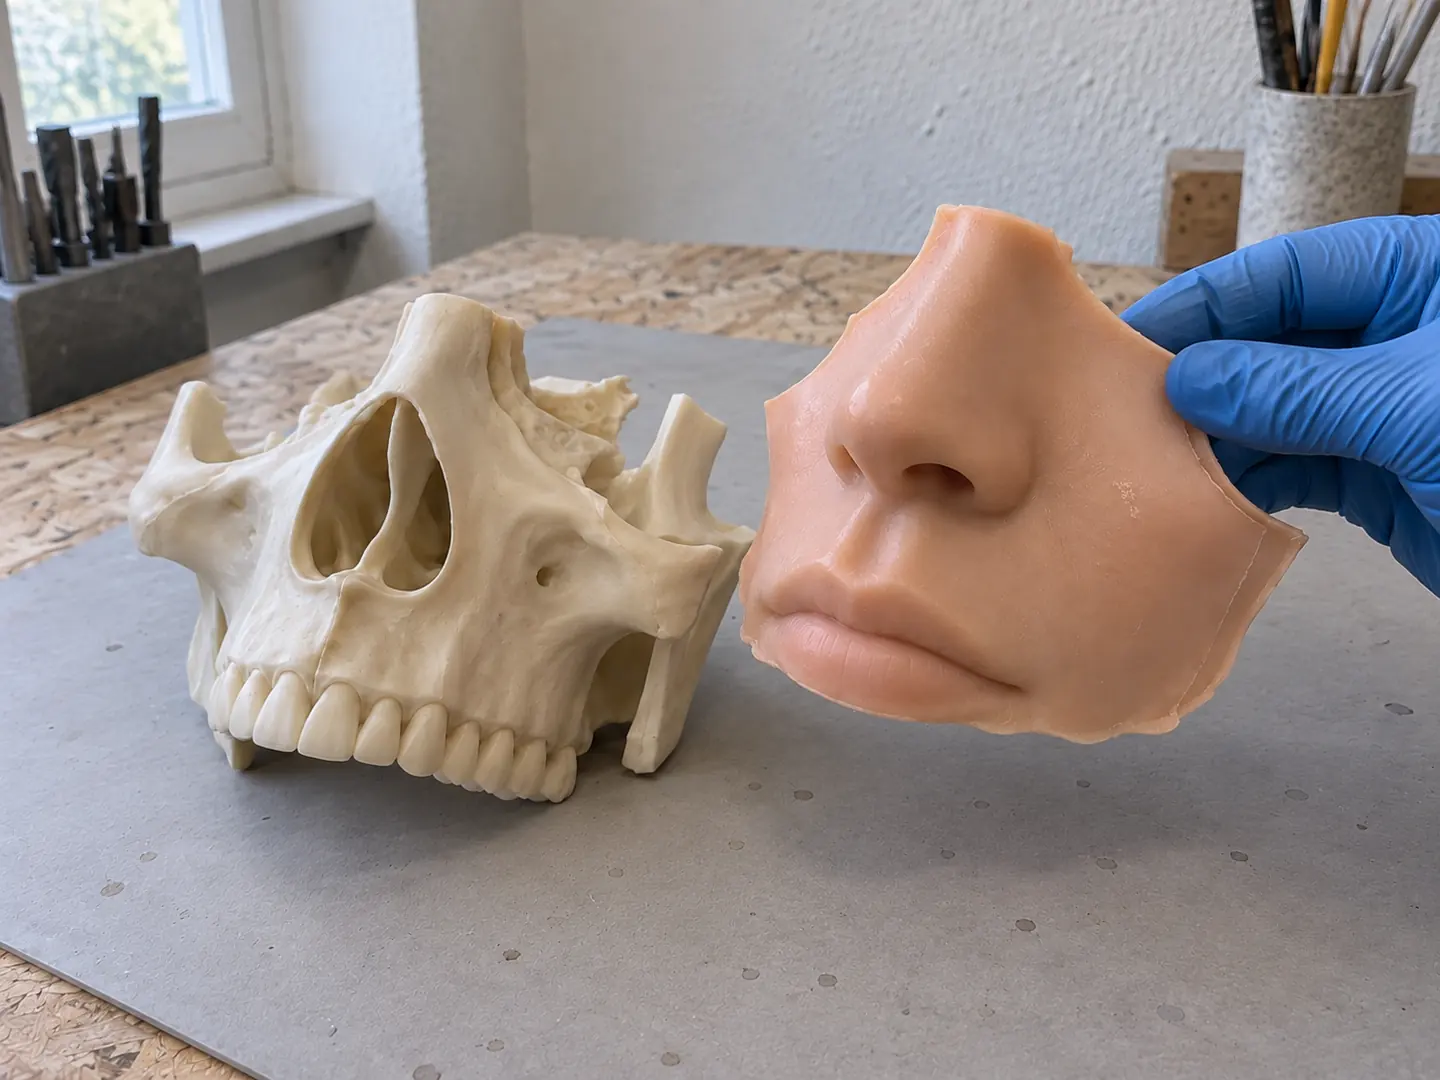
A rigid anatomical core and a removable silicone cover bring bone and surface anatomy into one handling model. The layers can be separated for explanation and brought together to compare their spatial relationship. For a similar brief, tell us which structures need to remain visible and which surfaces need to feel soft.
View image ↗The rigid core beside its soft-tissue cover.View image ↗The trimmed silicone edge and surface finish.View image ↗Two layers brought together for review.
Teaching & demonstration
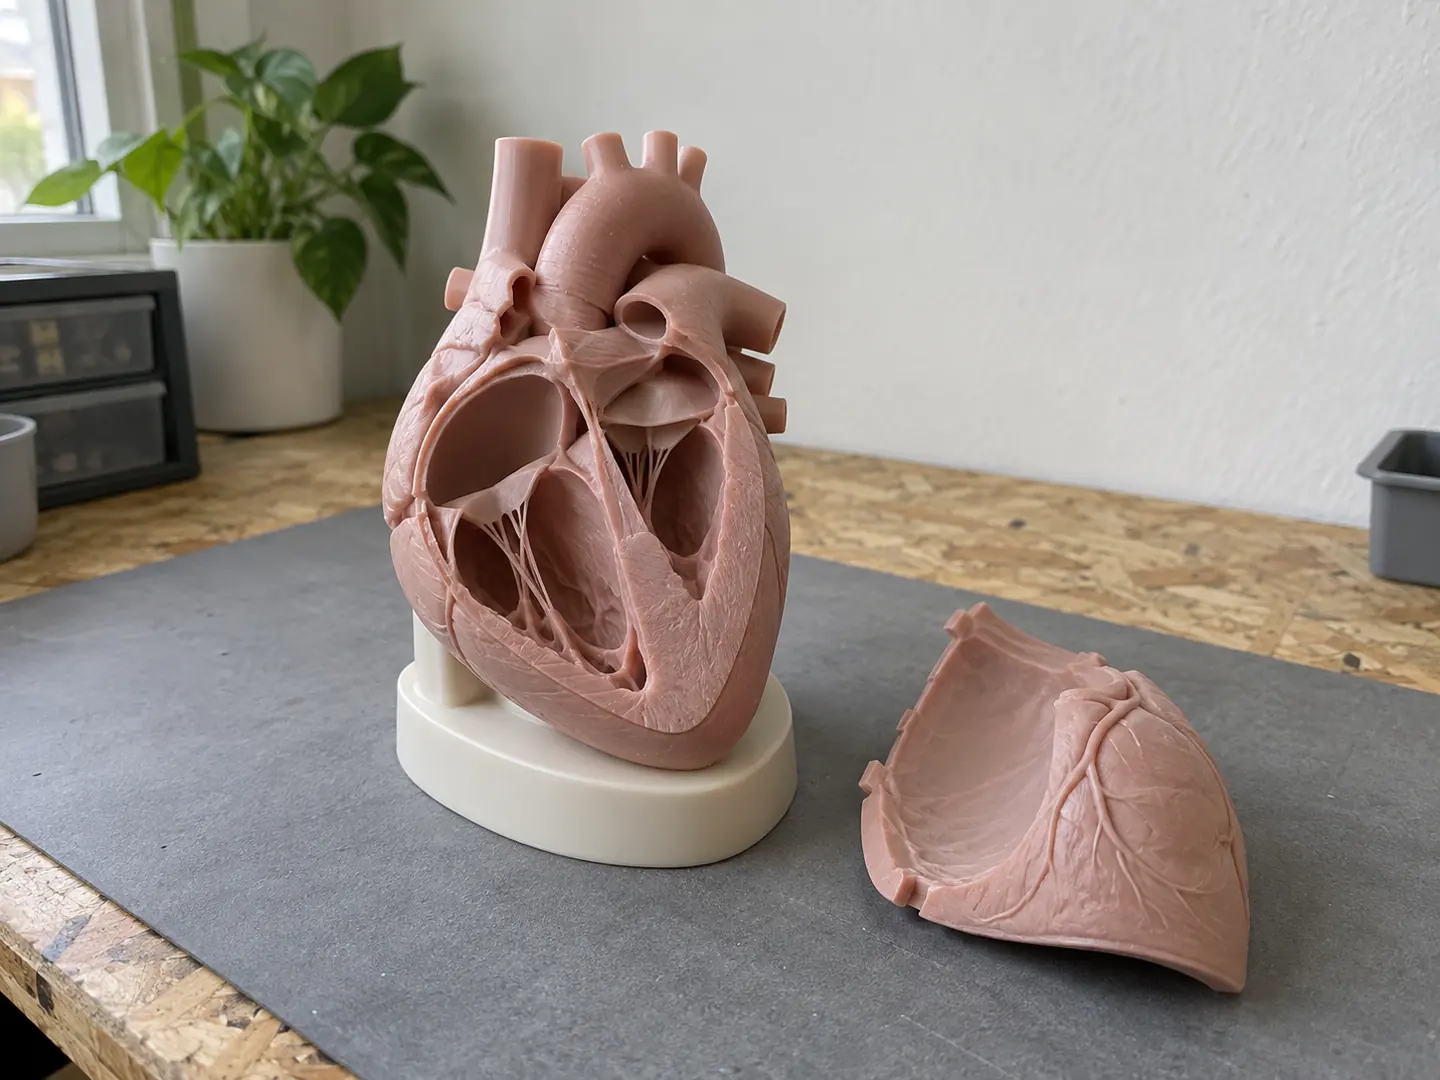
A heart with a removable front section
Sectioned anatomical models
A sectioned heart makes internal structures easier to discuss.
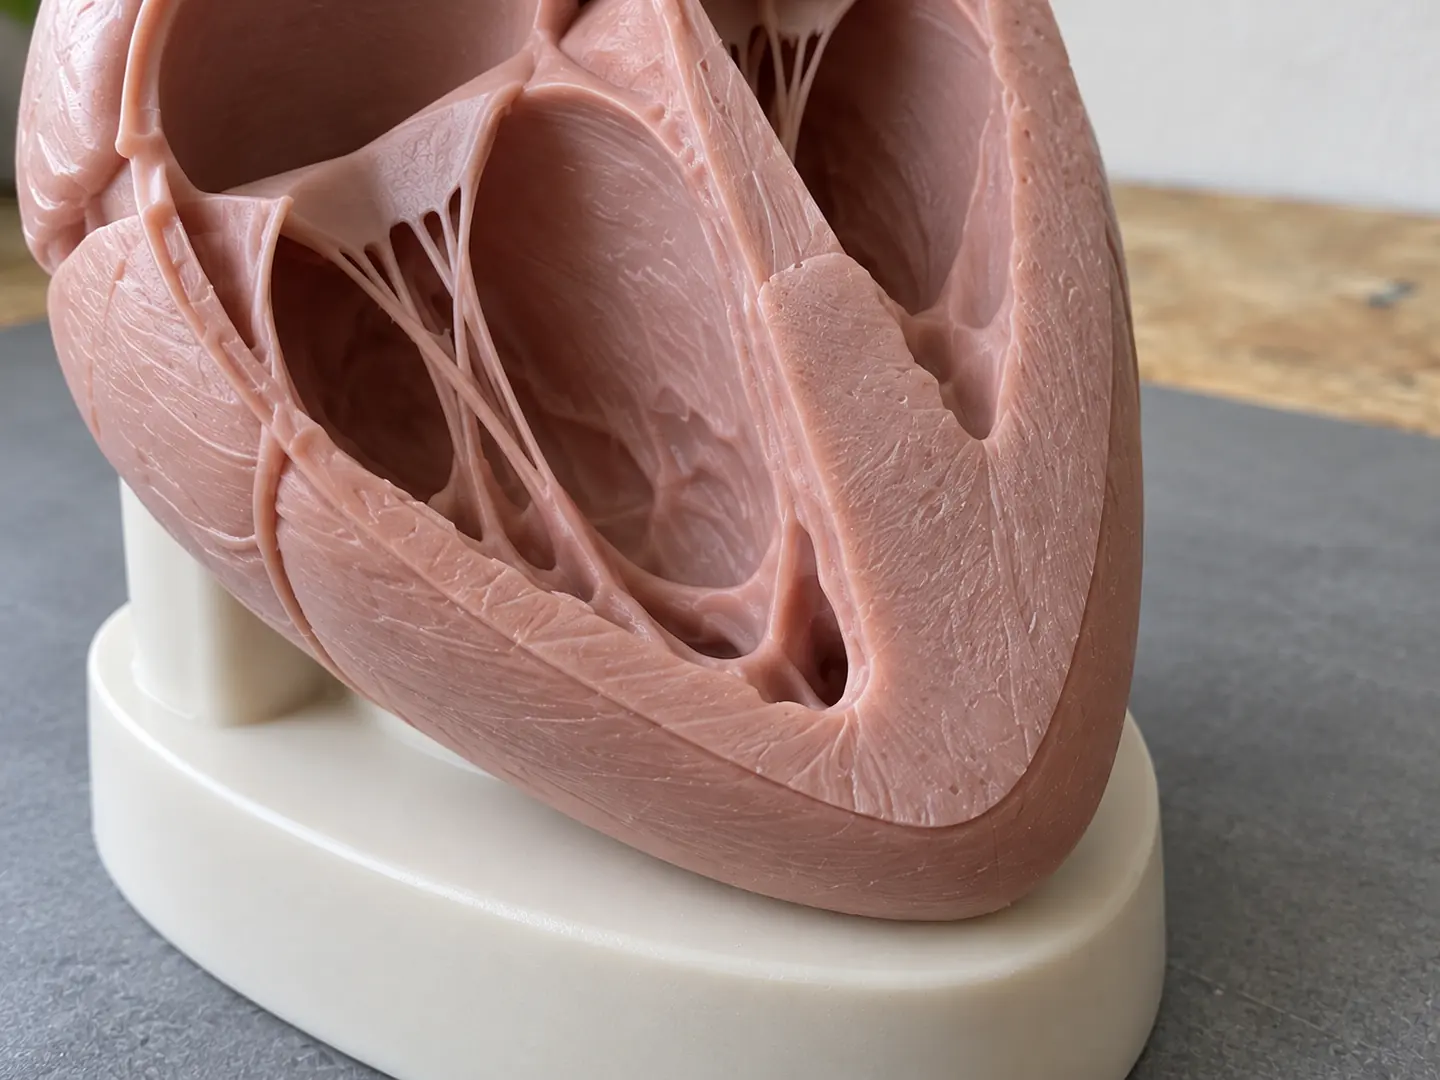
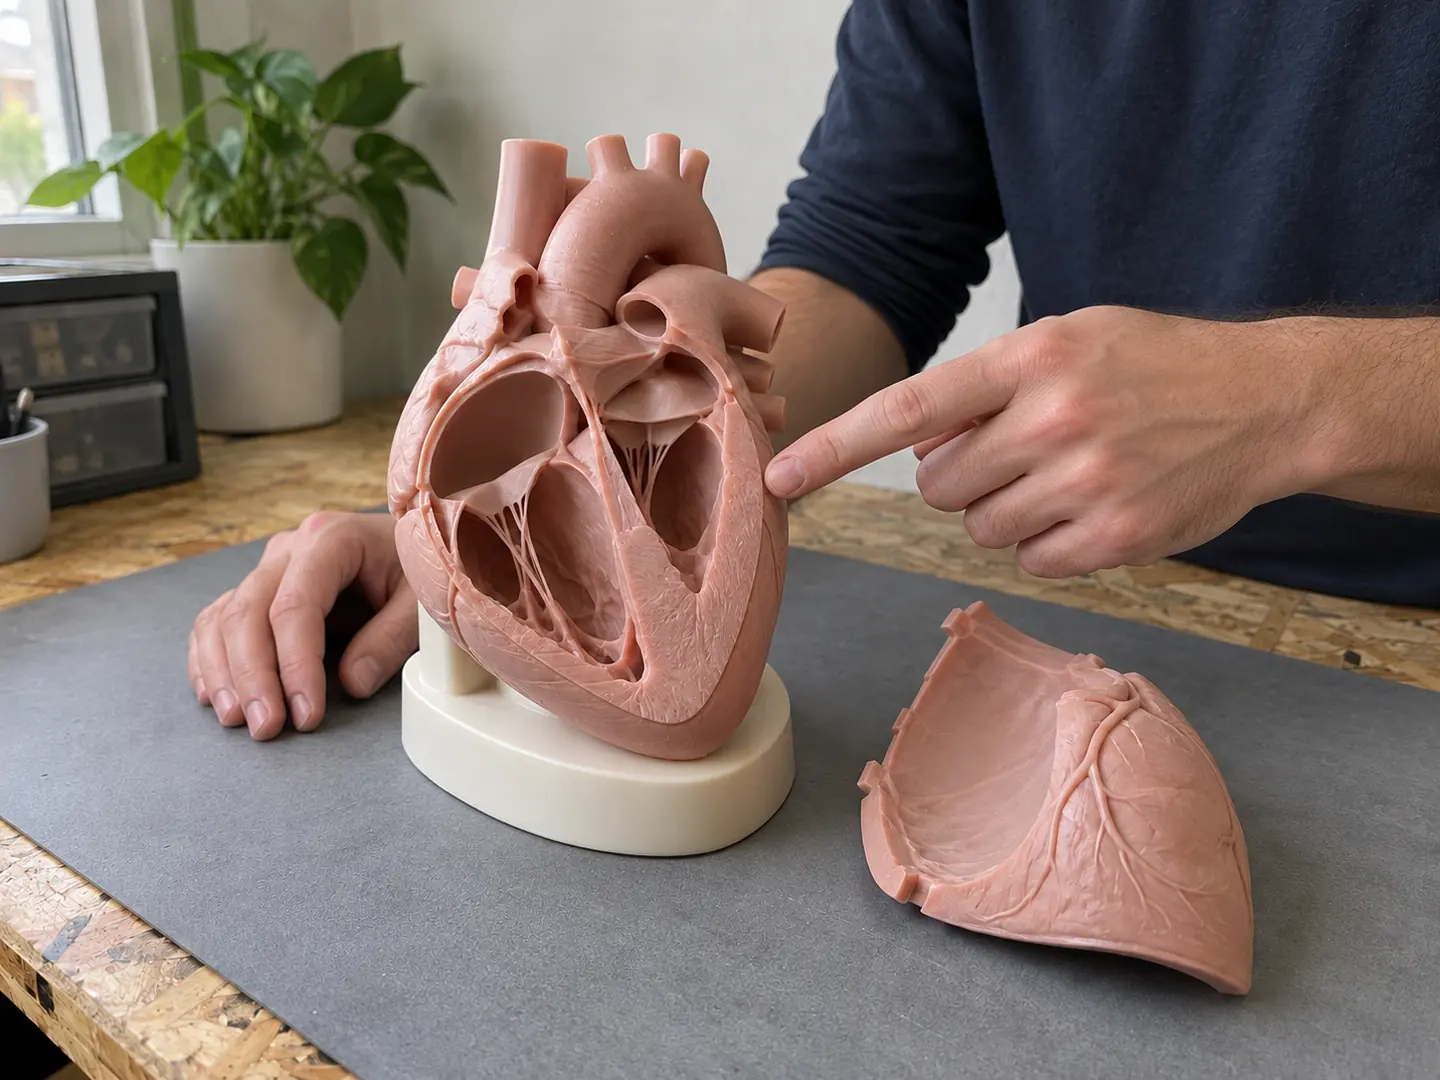
A removable front section exposes the chambers and valve structures; a separate cradle keeps the heart upright for a tabletop demonstration. The design keeps the outer shape available as a reference while the interior is discussed. For teaching models, the cut position and stand are part of the brief.
View image ↗The sectioned model and removable front panel.View image ↗A closer look at the printed internal structures.View image ↗The model during a tabletop demonstration.
Moulds & silicone
A silicone valve and its printed mould
Silicone casting
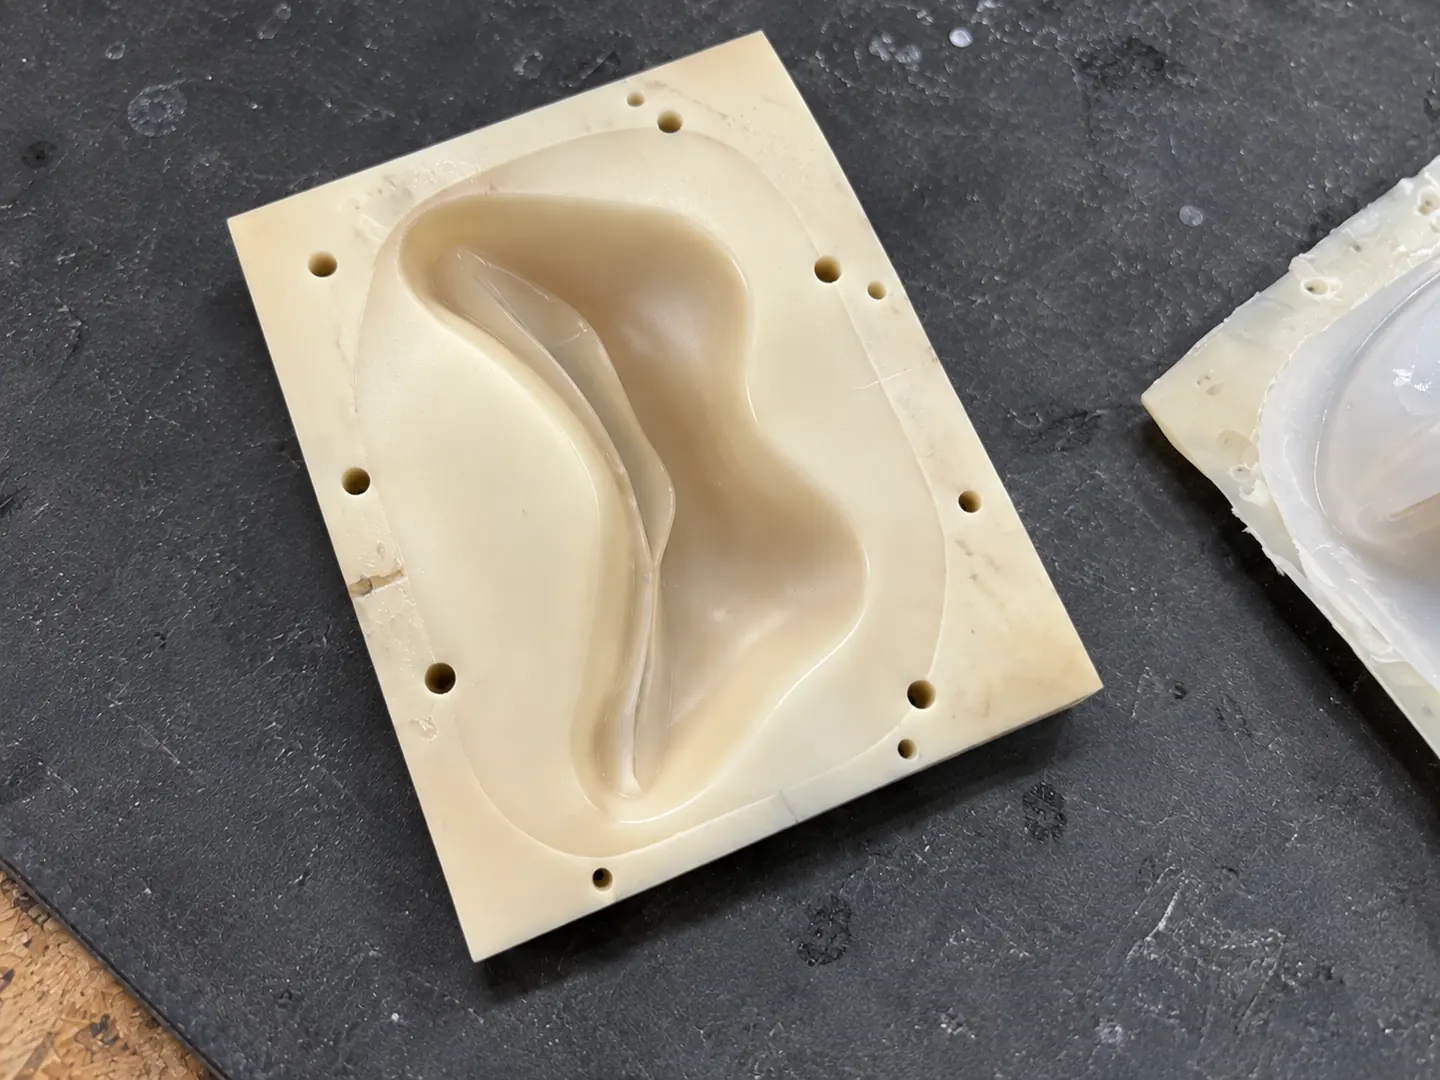
Printed tooling and cast silicone, shown side by side.
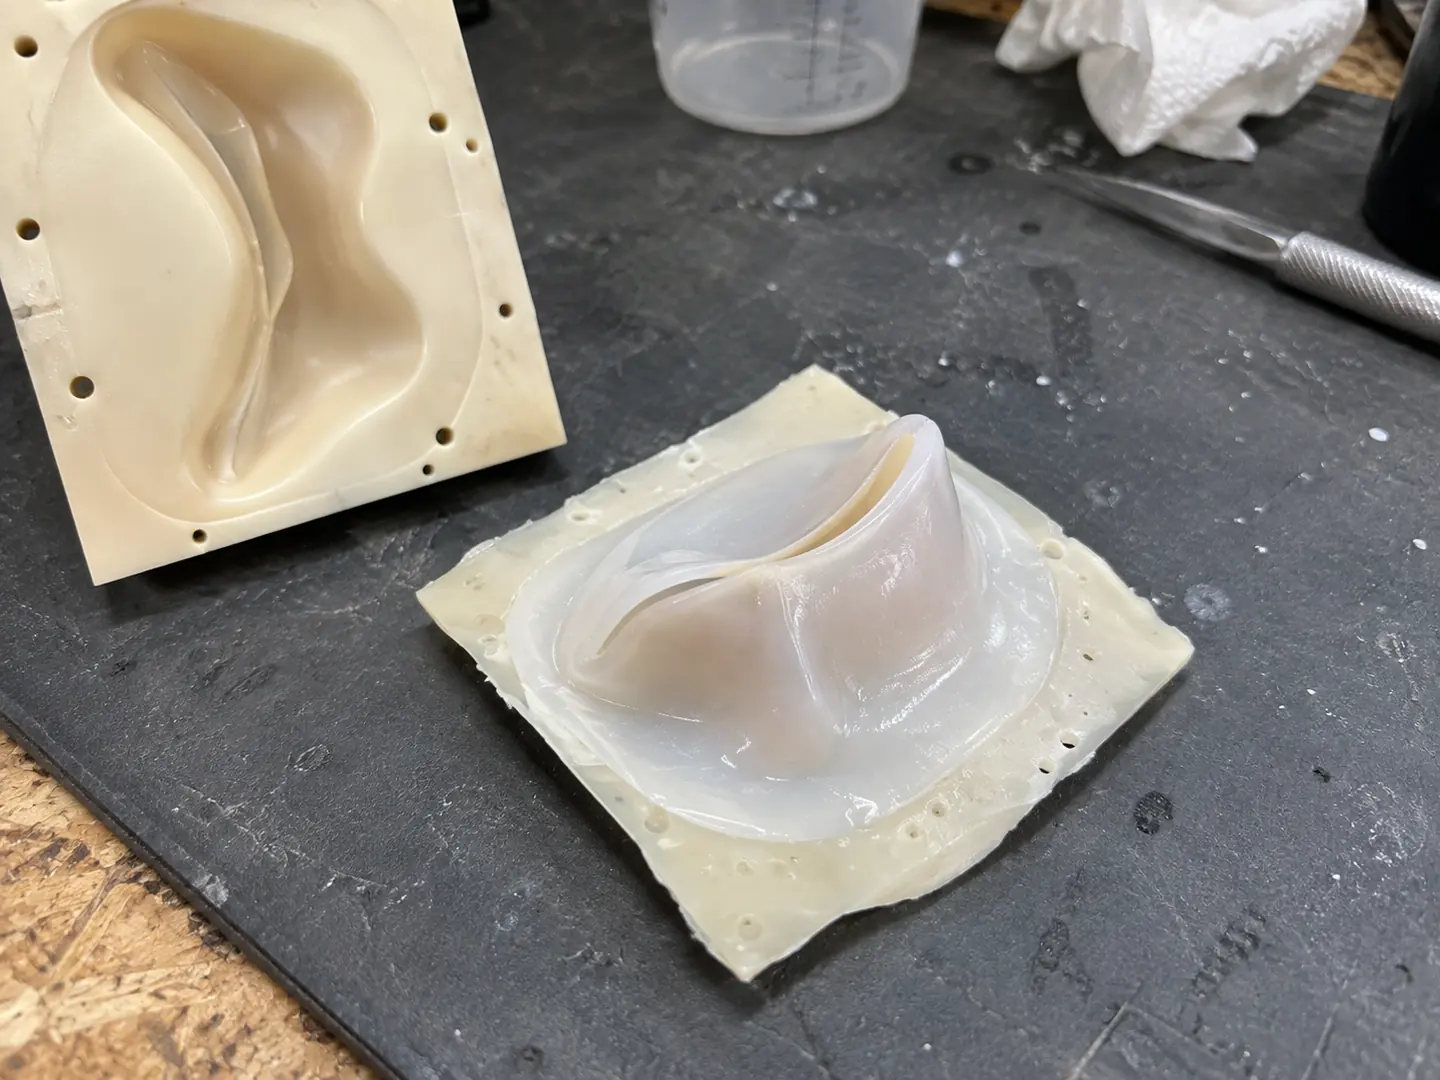
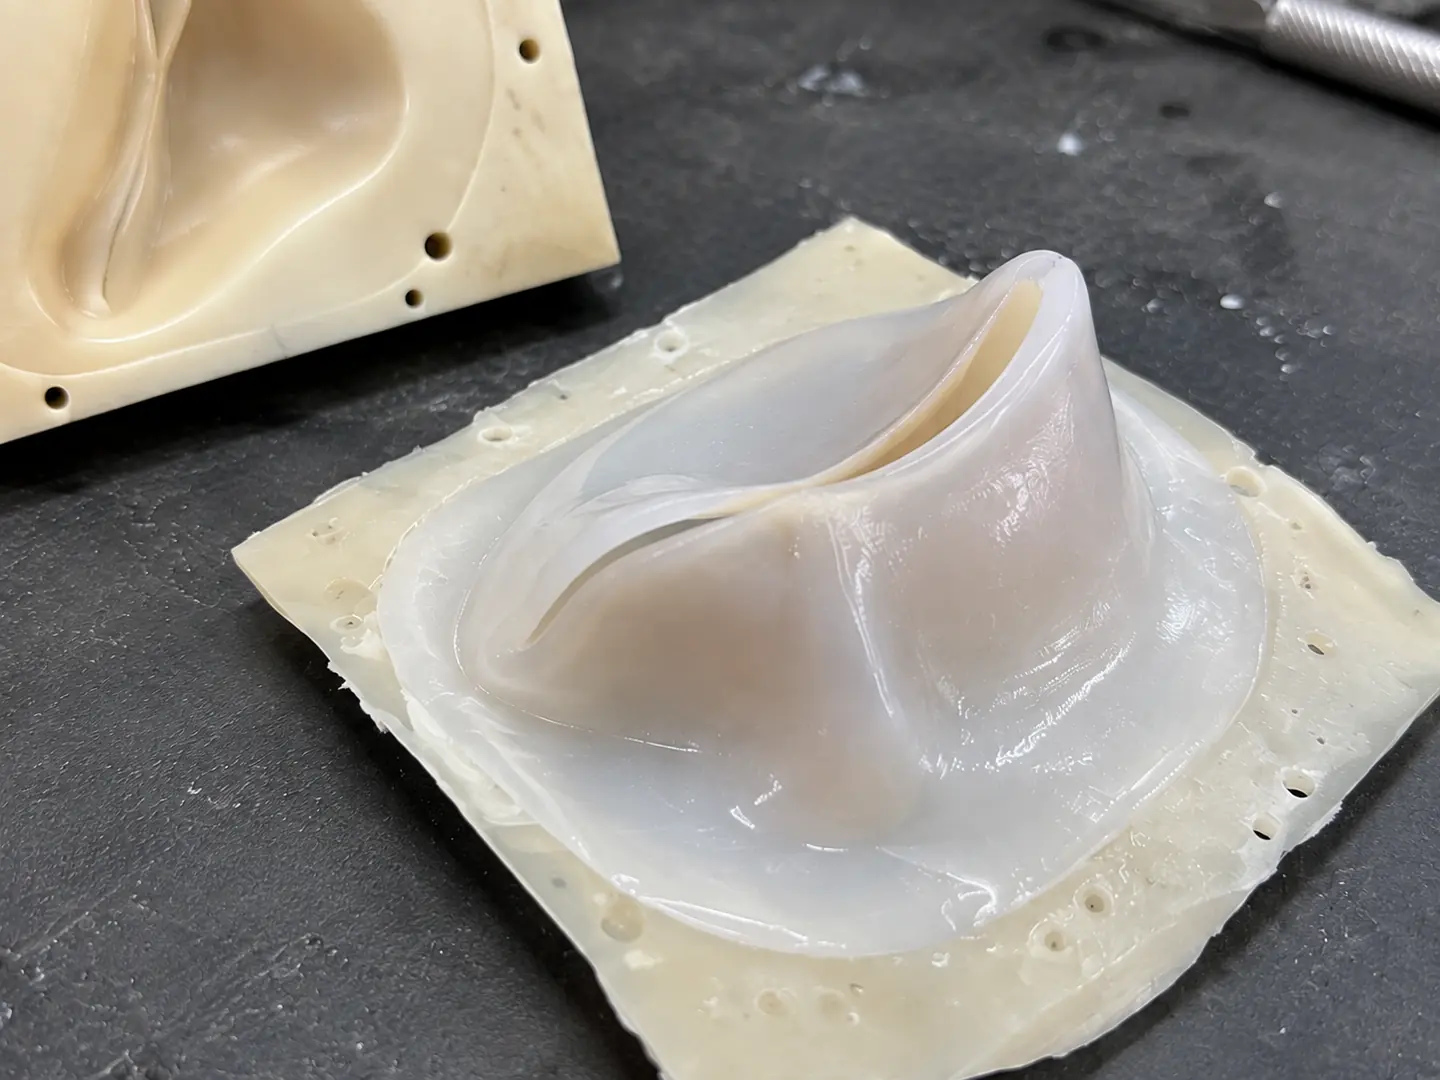
Printed tooling gives the silicone valve its shape; the flexible cast can then be removed and trimmed. This pairs a rigid manufacturing tool with a soft finished part. For a similar insert, the useful starting points are its mating frame, the motion it needs to allow and how often it will be replaced.
View image ↗The silicone valve beside one mould face.View image ↗Thin curved sections and the cast silicone surface.View image ↗One mould face, with the cast part beside it.
Biomedical research
Porous scaffold samples
Scaffold fabrication
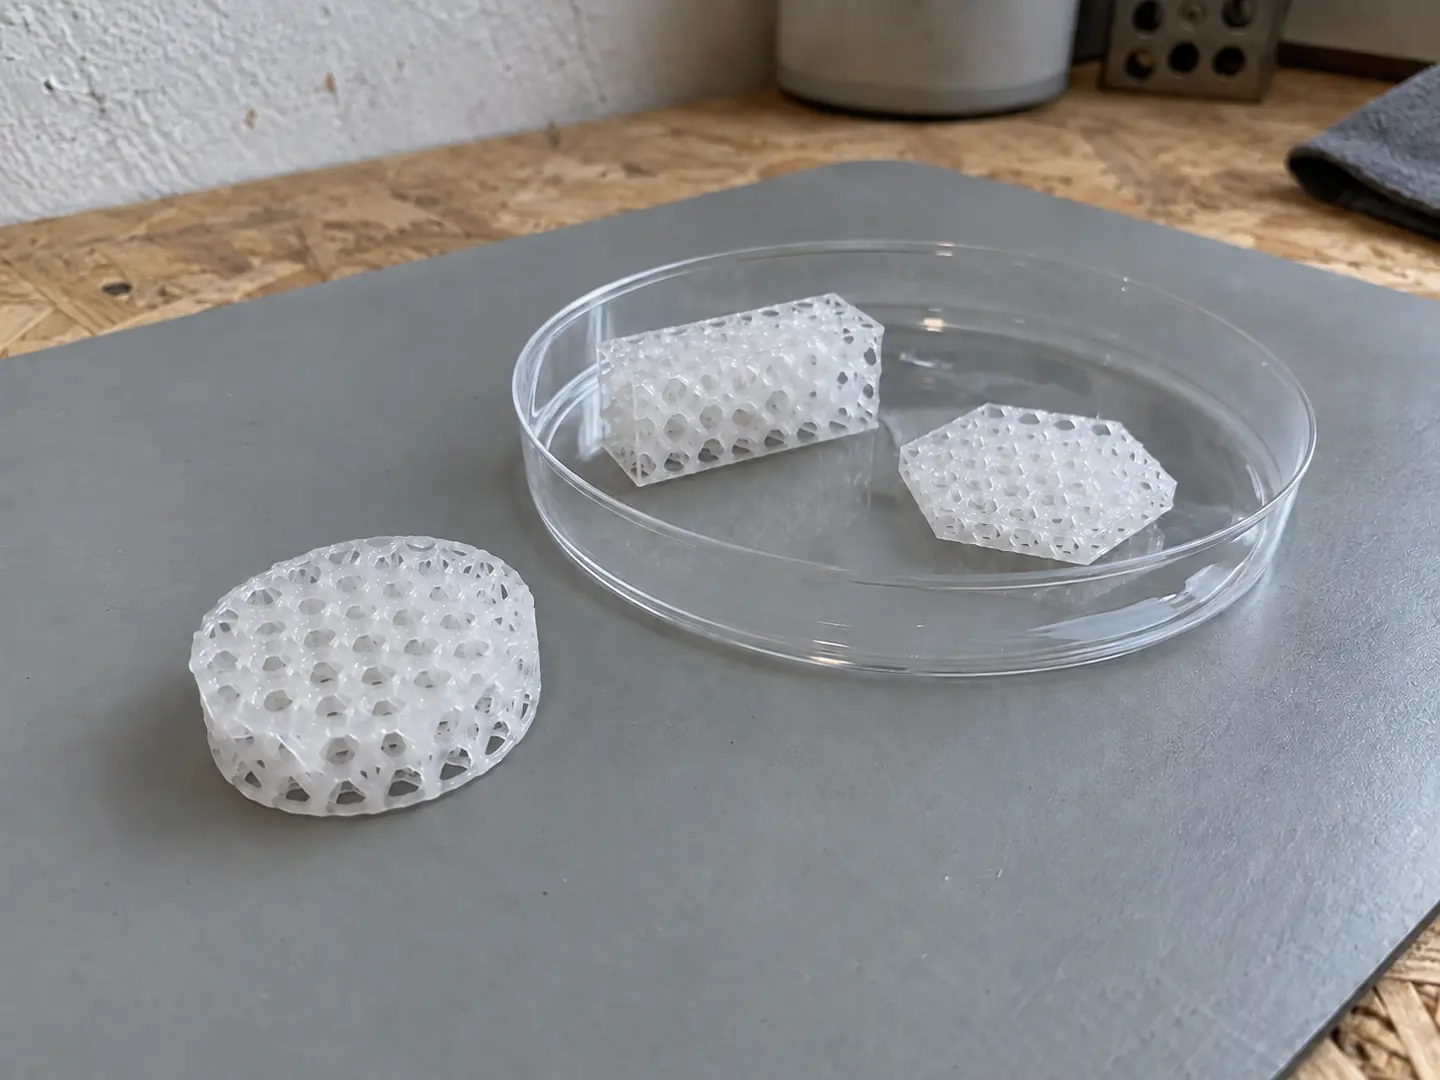
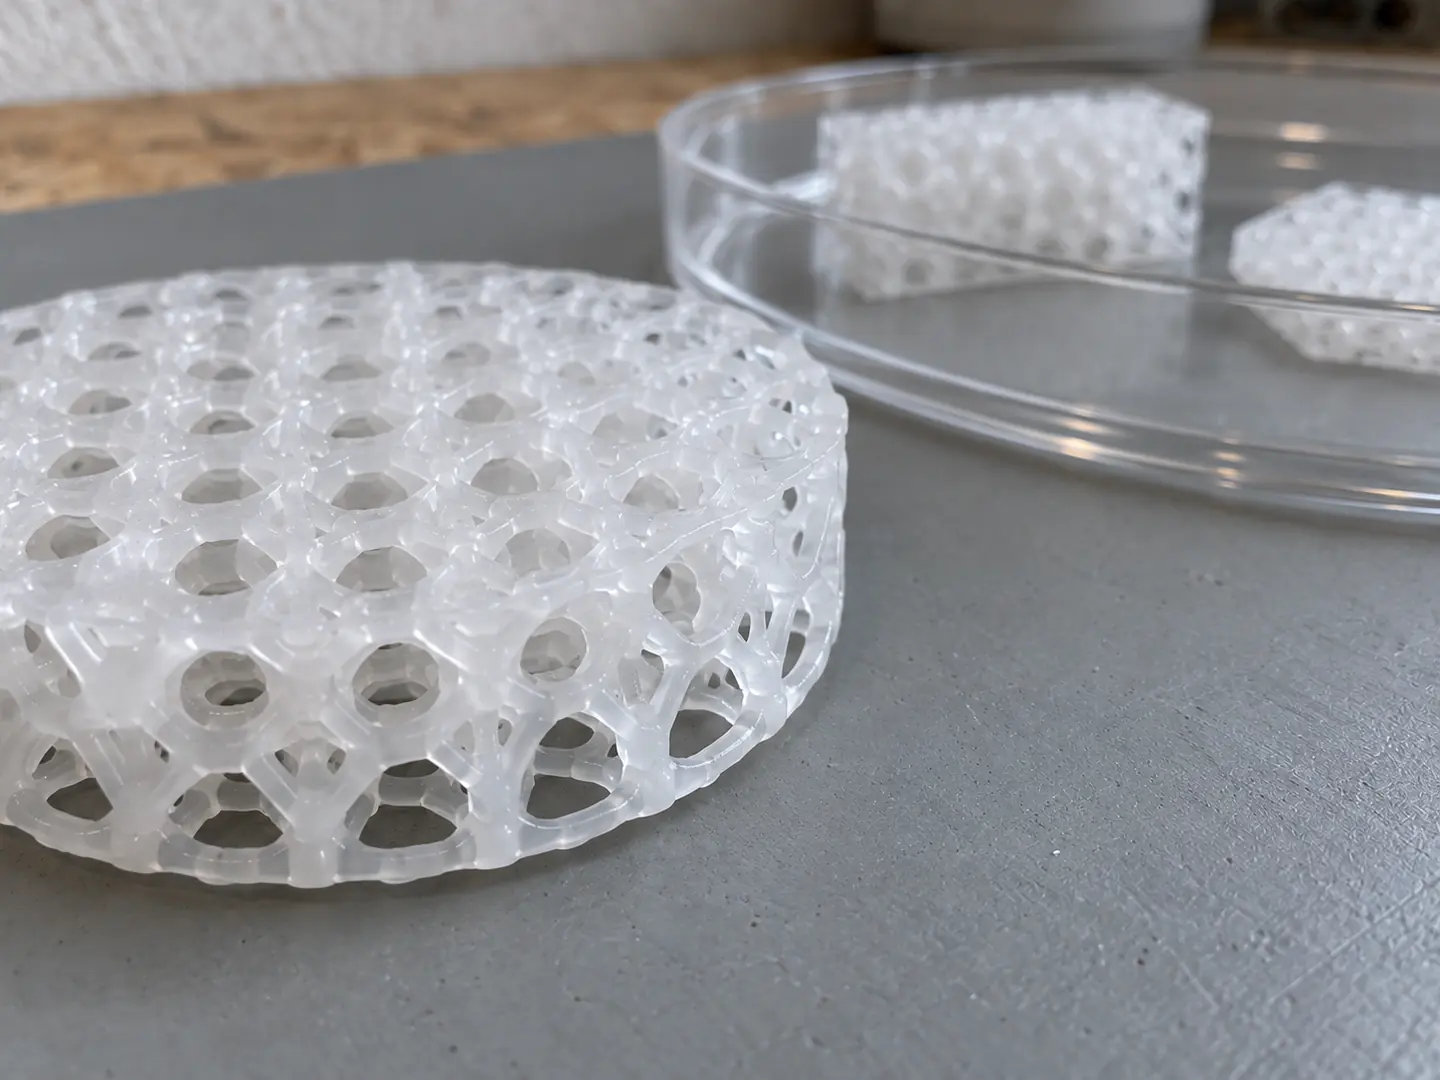
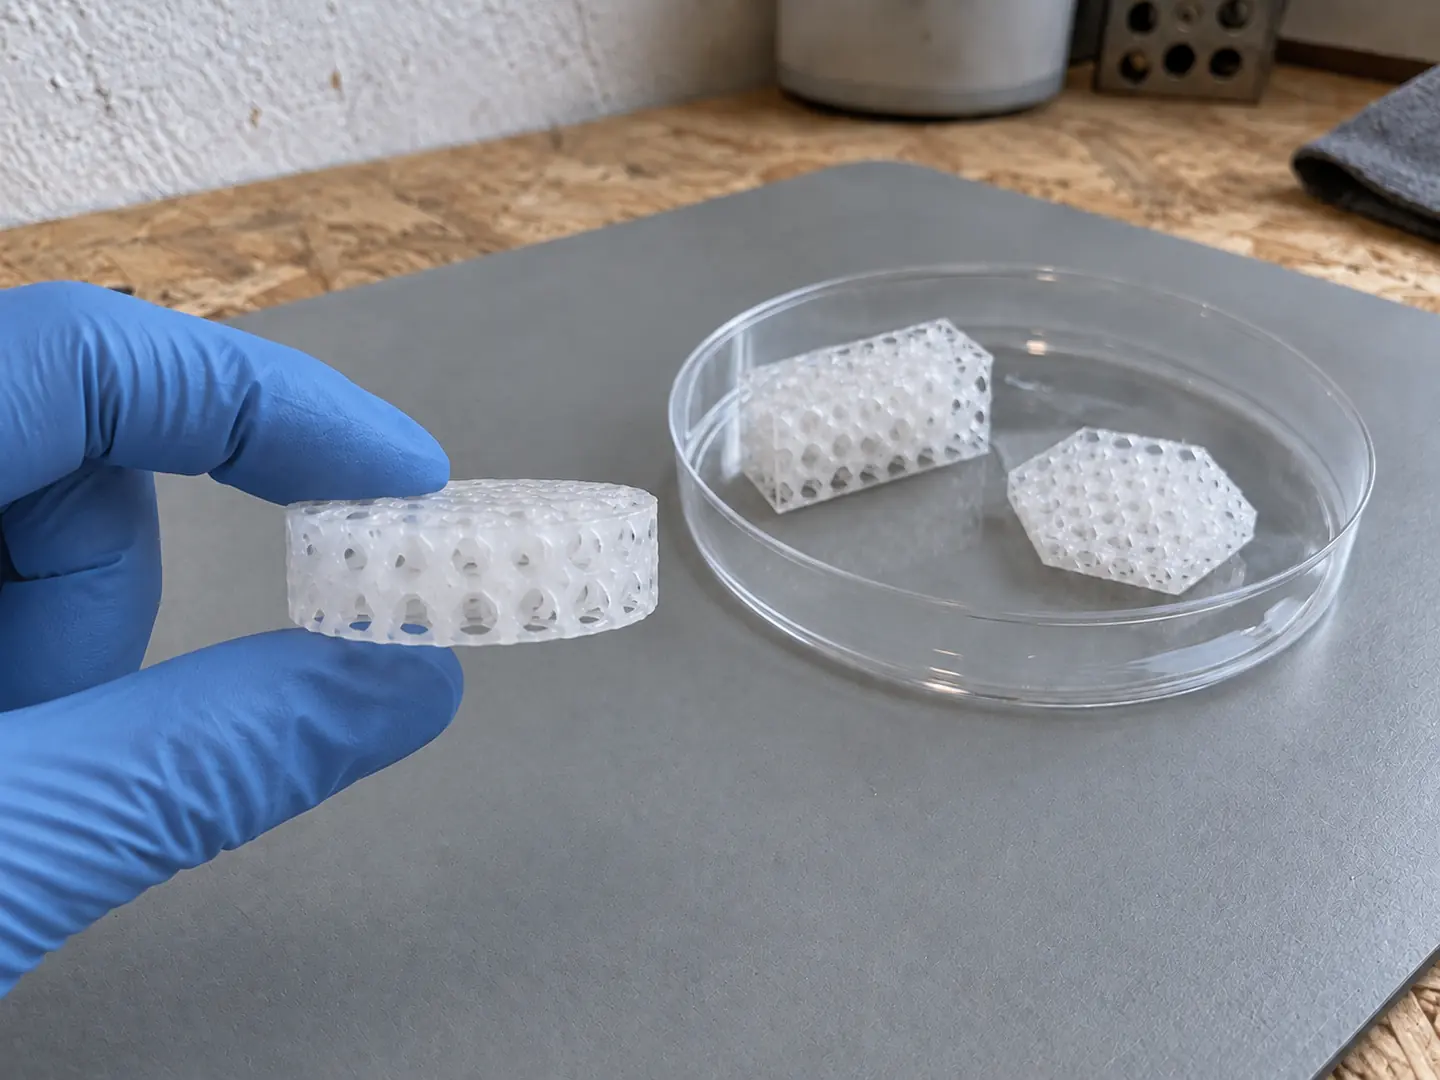
Porous samples that make material and geometry visible.
A disc, tile and block make the relationship between wall thickness and interconnected open space tangible. The samples show the geometry at both handling and close-up scale. For a research brief, specify the dimensions, pore geometry and material requirements; appearance alone does not establish biological performance.
View image ↗Near-white scaffold samples in three formats.View image ↗A close view of the open pore structure.View image ↗Handling a sample to show its thickness.
Small parts
Fine features at fingertip scale
20 µm precision printing
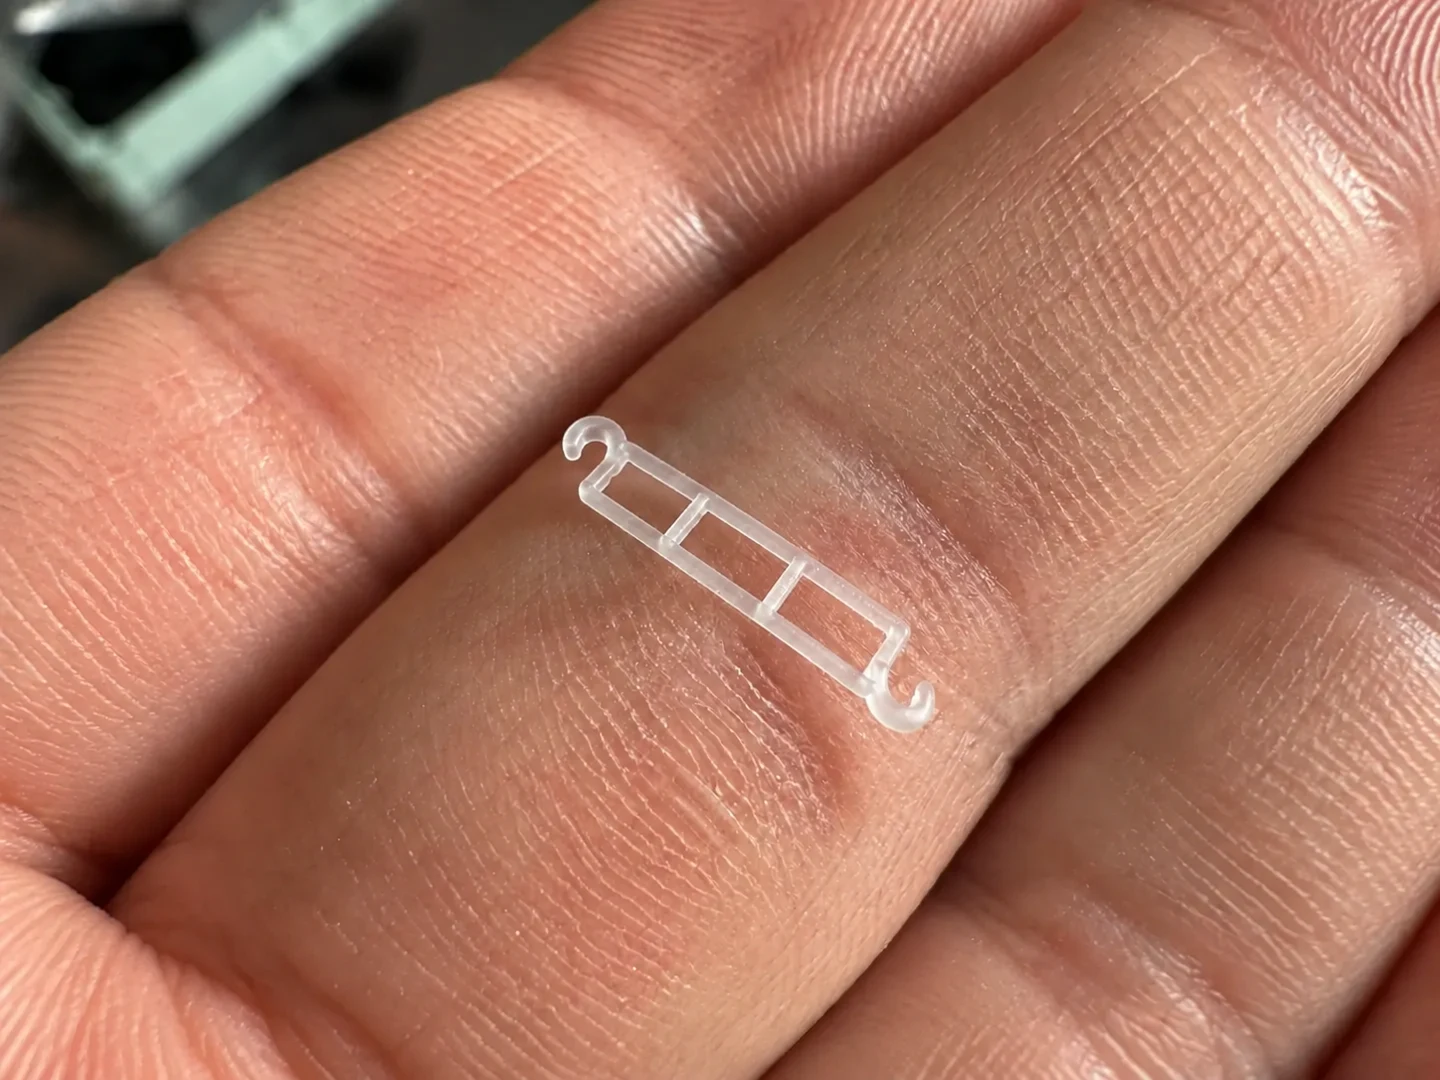
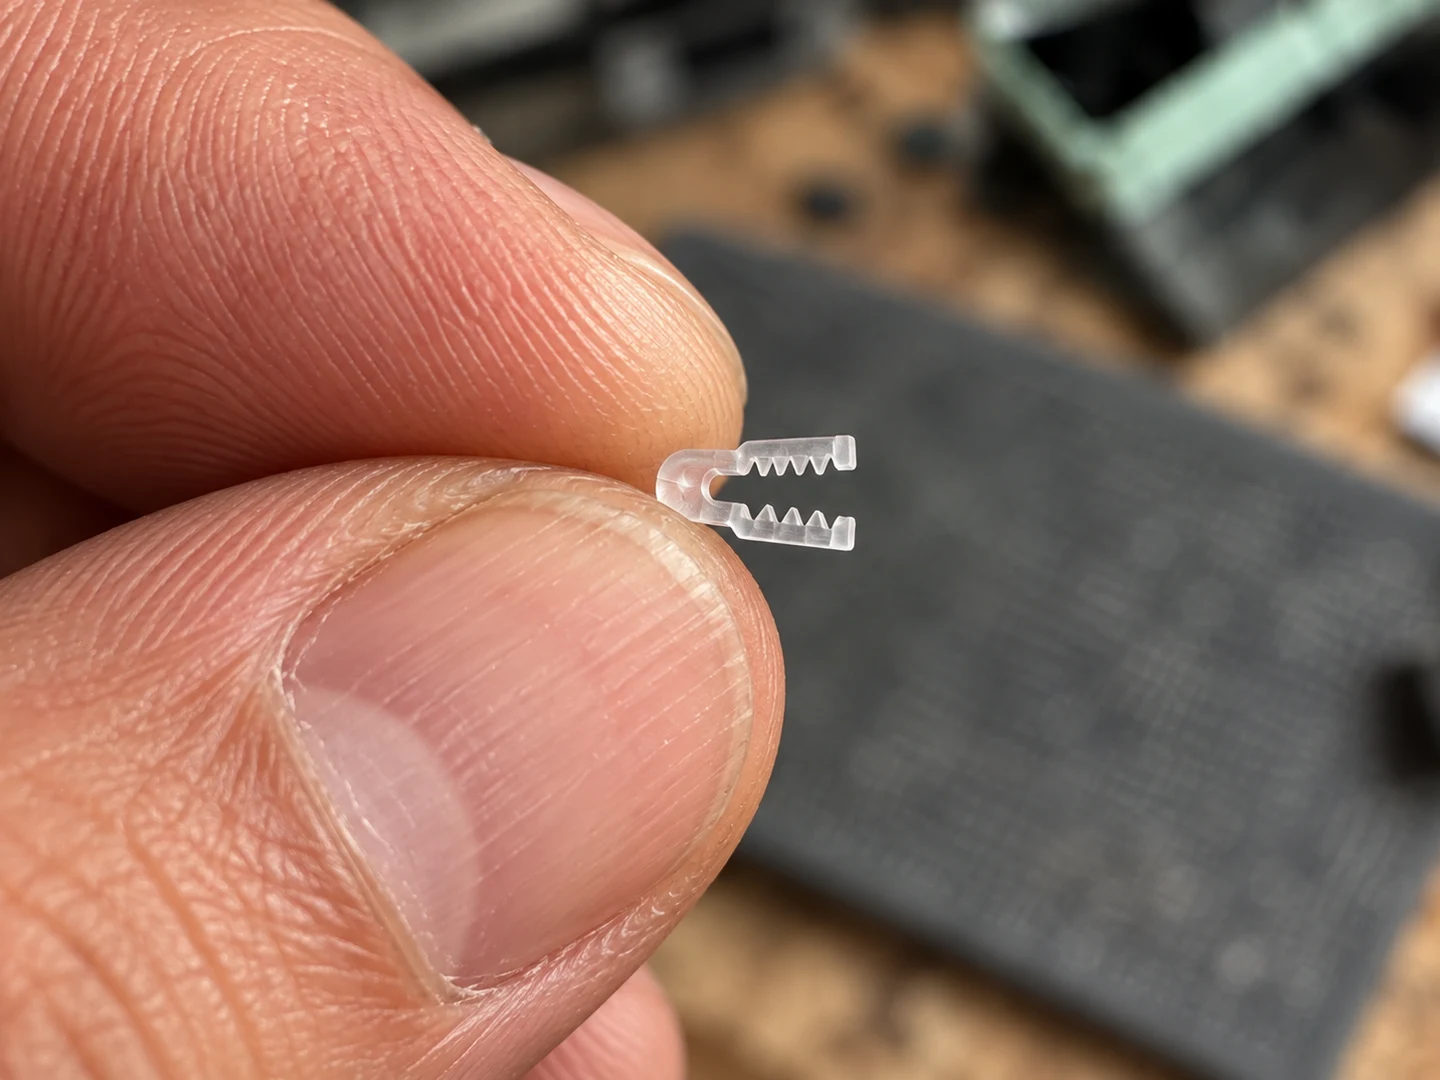
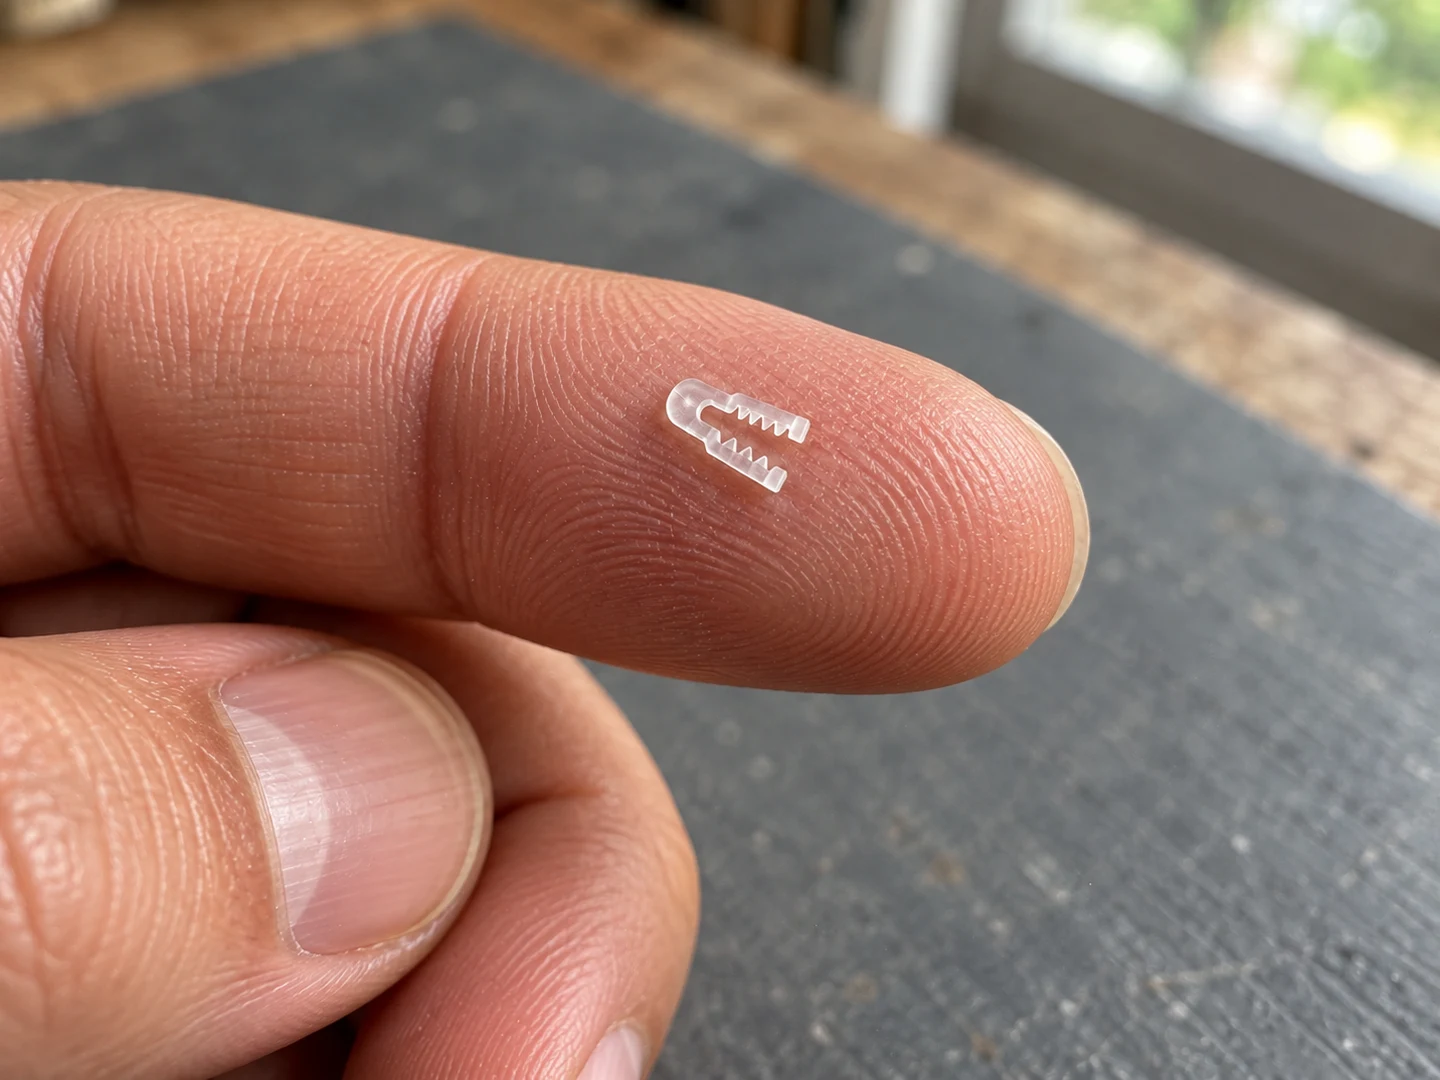
Fine-feature printing at 20 µm resolution, shown on an open-frame bracket and a tiny toothed jaw.
These samples show an open-frame bracket and a tiny toothed micro-jaw. We work at 20 µm print resolution for small, detailed components. Send the smallest required feature, mating geometry and target tolerances so we can assess the process and agree the checks for your part. Print resolution and the finished part’s dimensional accuracy are different specifications.
View image ↗A translucent sample on fingertips.View image ↗The same micro-jaw held between fingertips.View image ↗The same micro-jaw resting on one fingertip.
Training hardware
A mitral valve big enough to teach on
Silicone valve in a printed frame
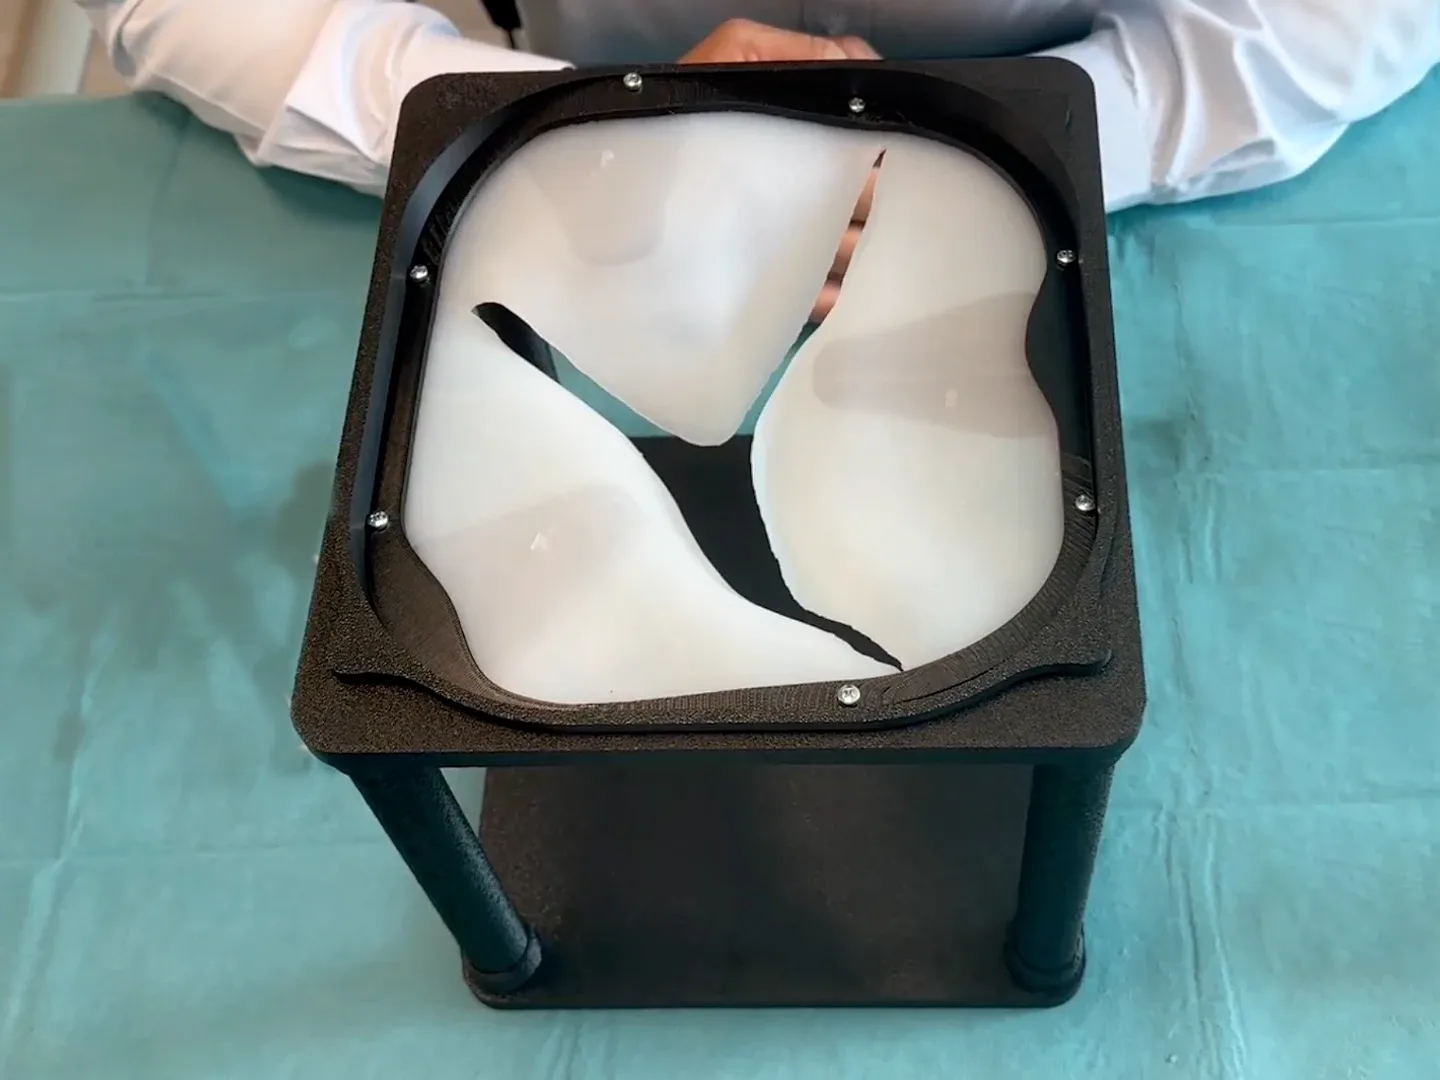
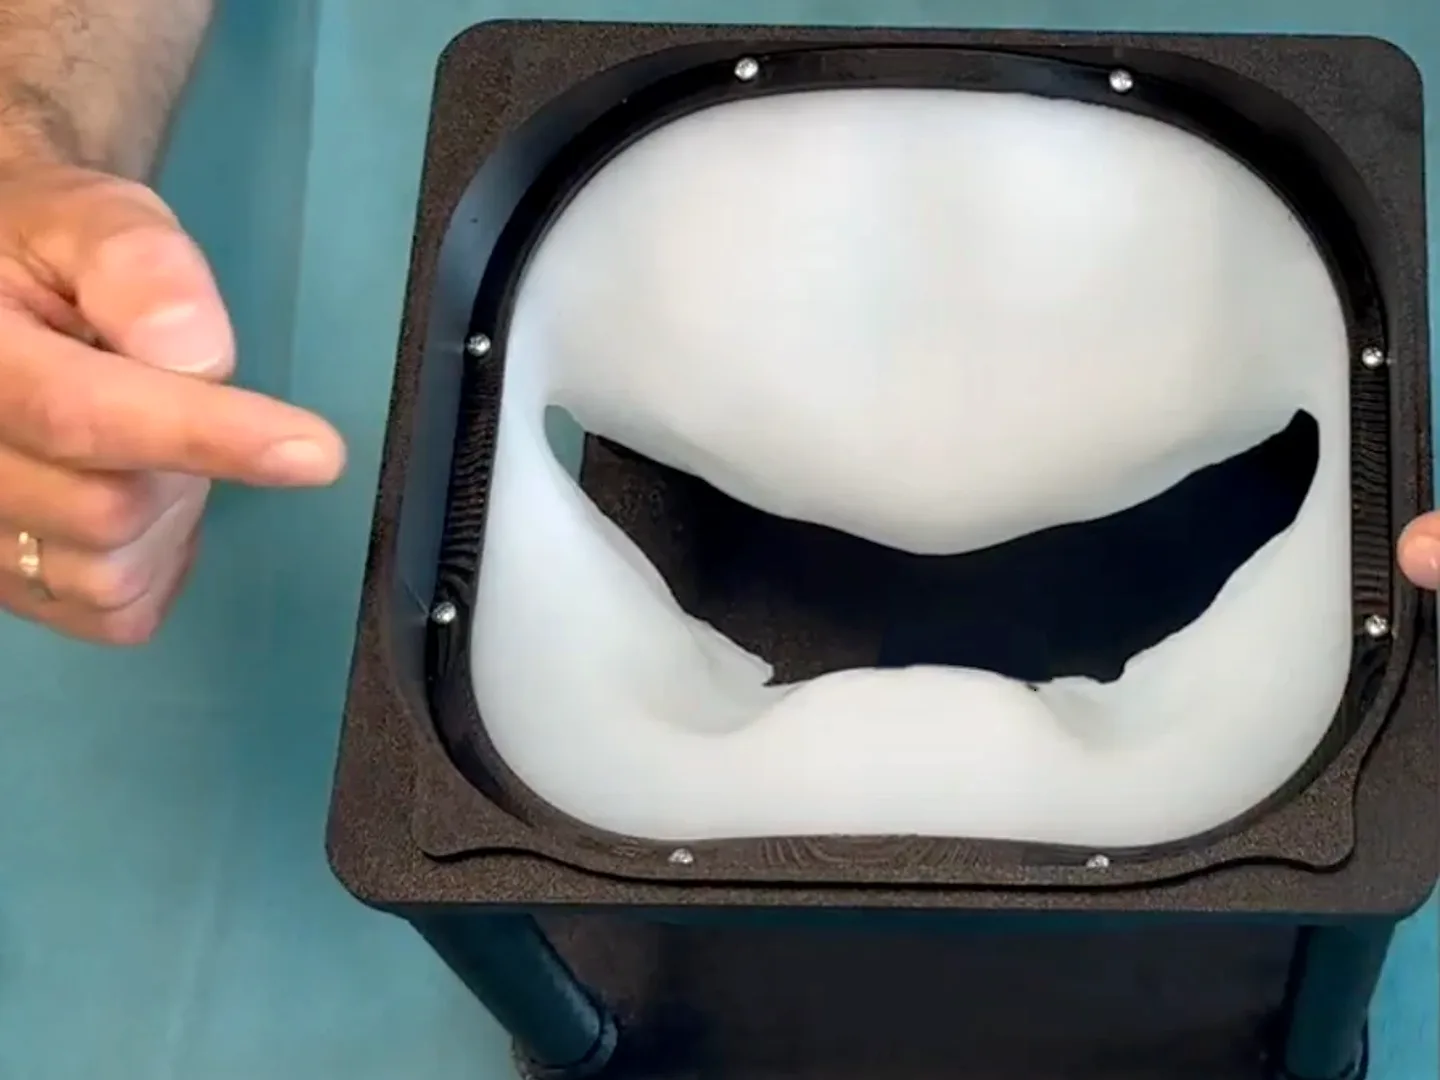
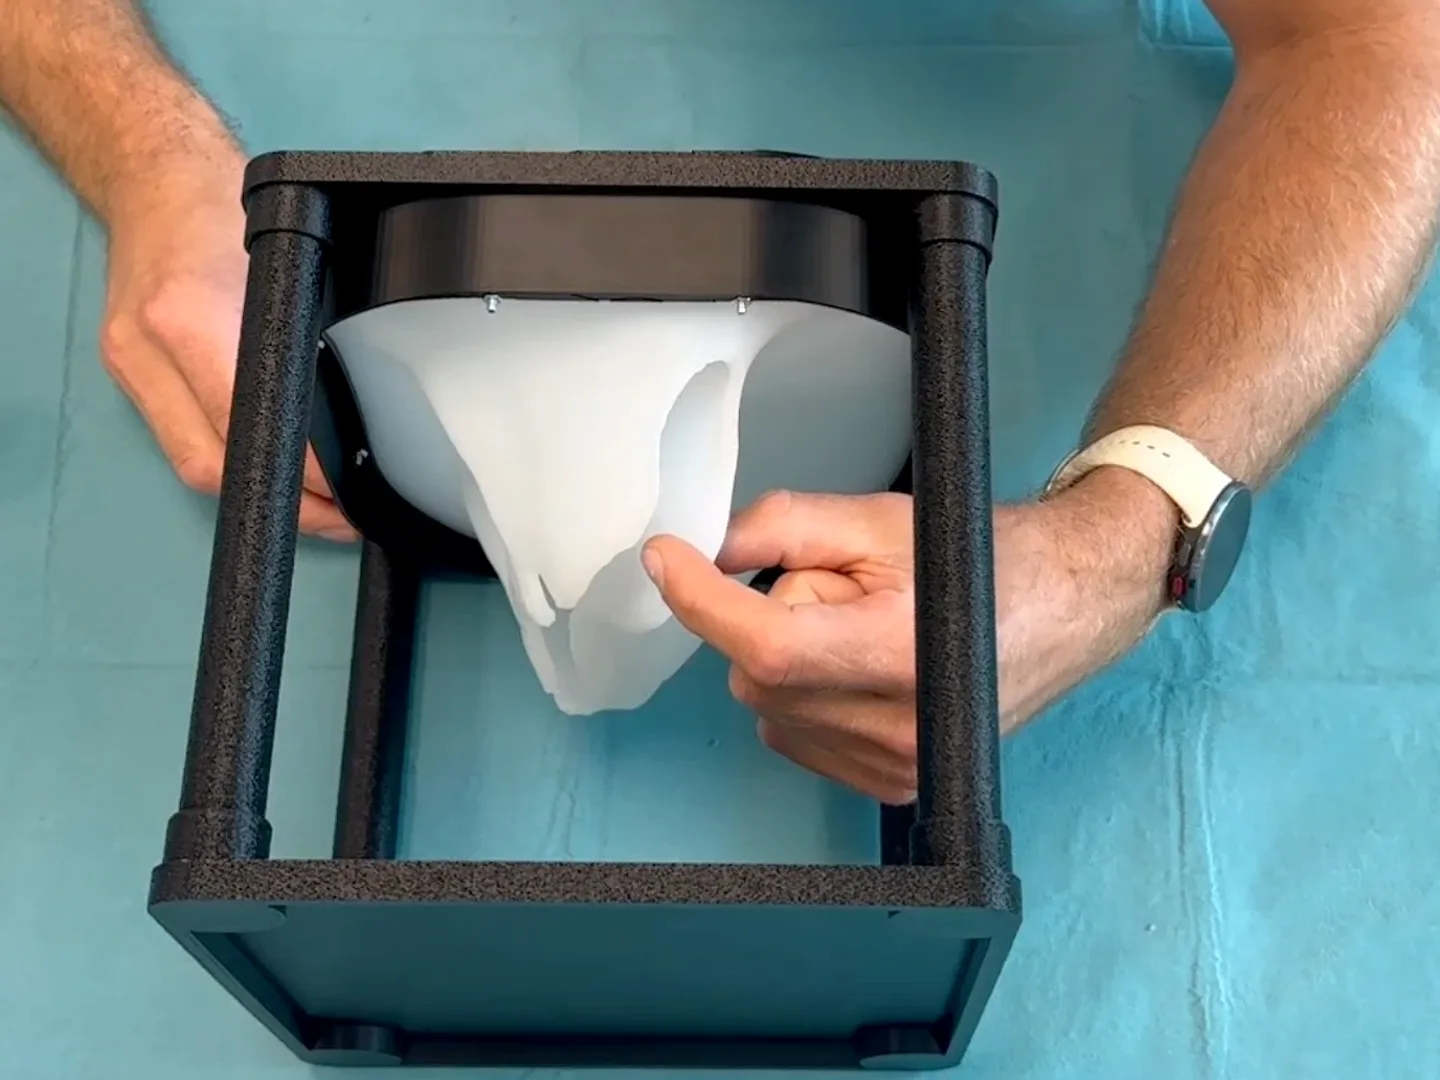
An enlarged silicone mitral valve, open from above and from below.
The enlarged silicone valve sits in an open printed frame. It can be viewed from above, and the flexible leaflets can be reached from below for a hands-on demonstration. For a trainer brief, tell us the procedure, viewing setup and access your instruments need.
View image ↗The simulator with its silicone valve in place.View image ↗From above: the closed leaflets under the clamp ring.View image ↗From below: a hand at the leaflets through the open frame.
Transparent printing
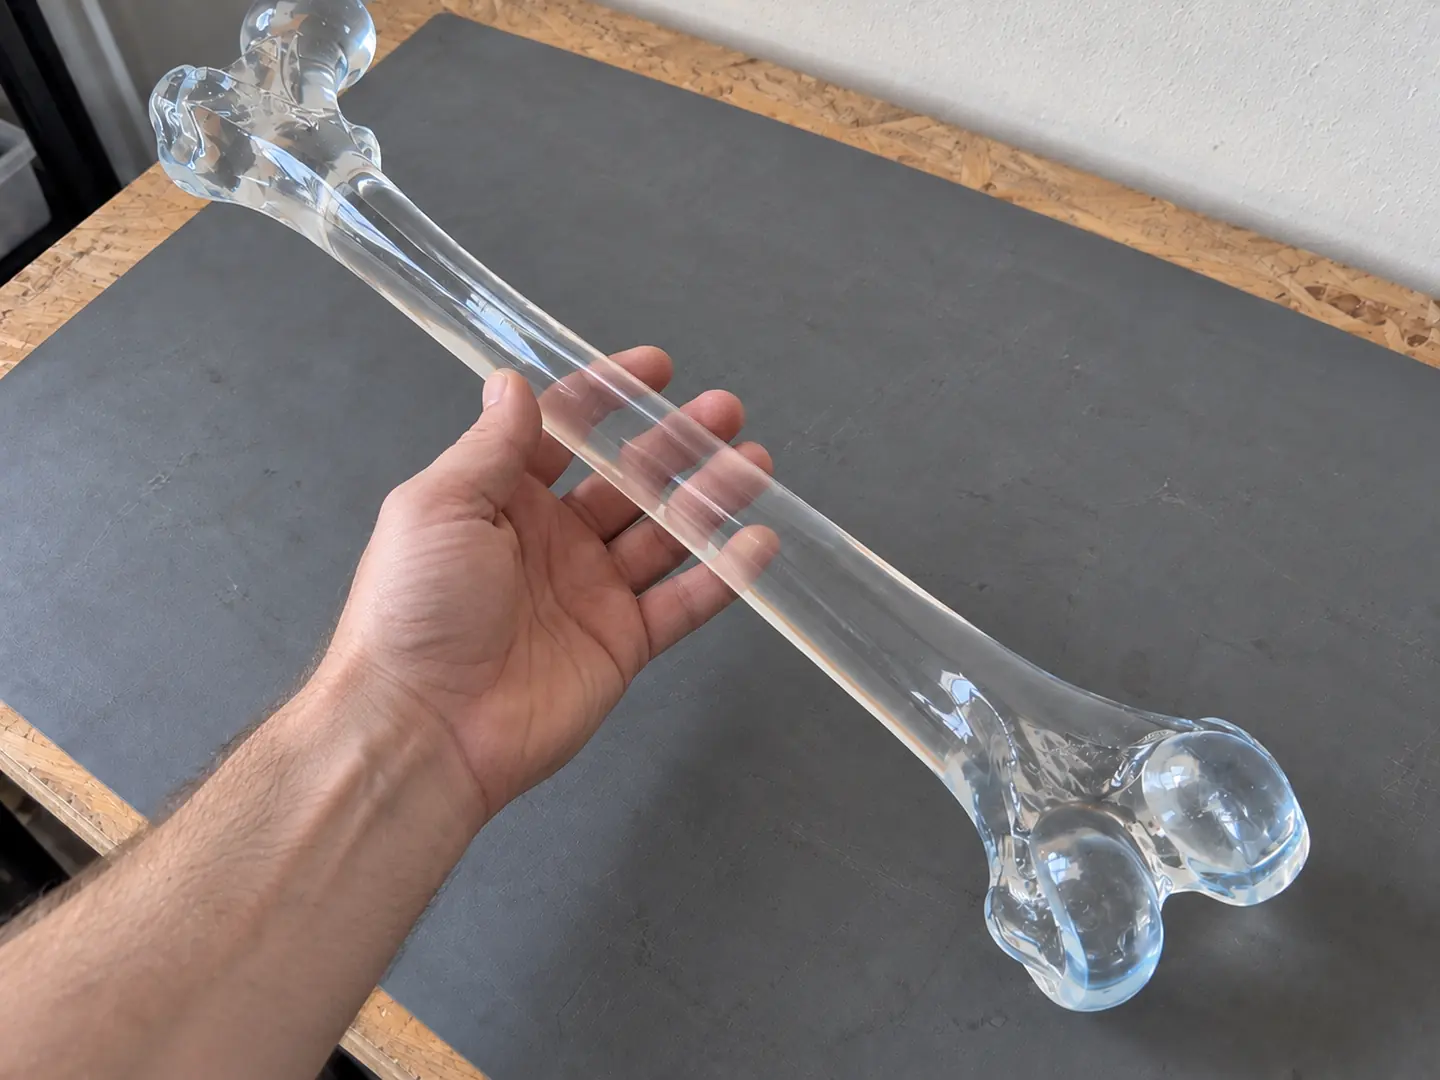
A femur in clear resin
Transparency & finishing
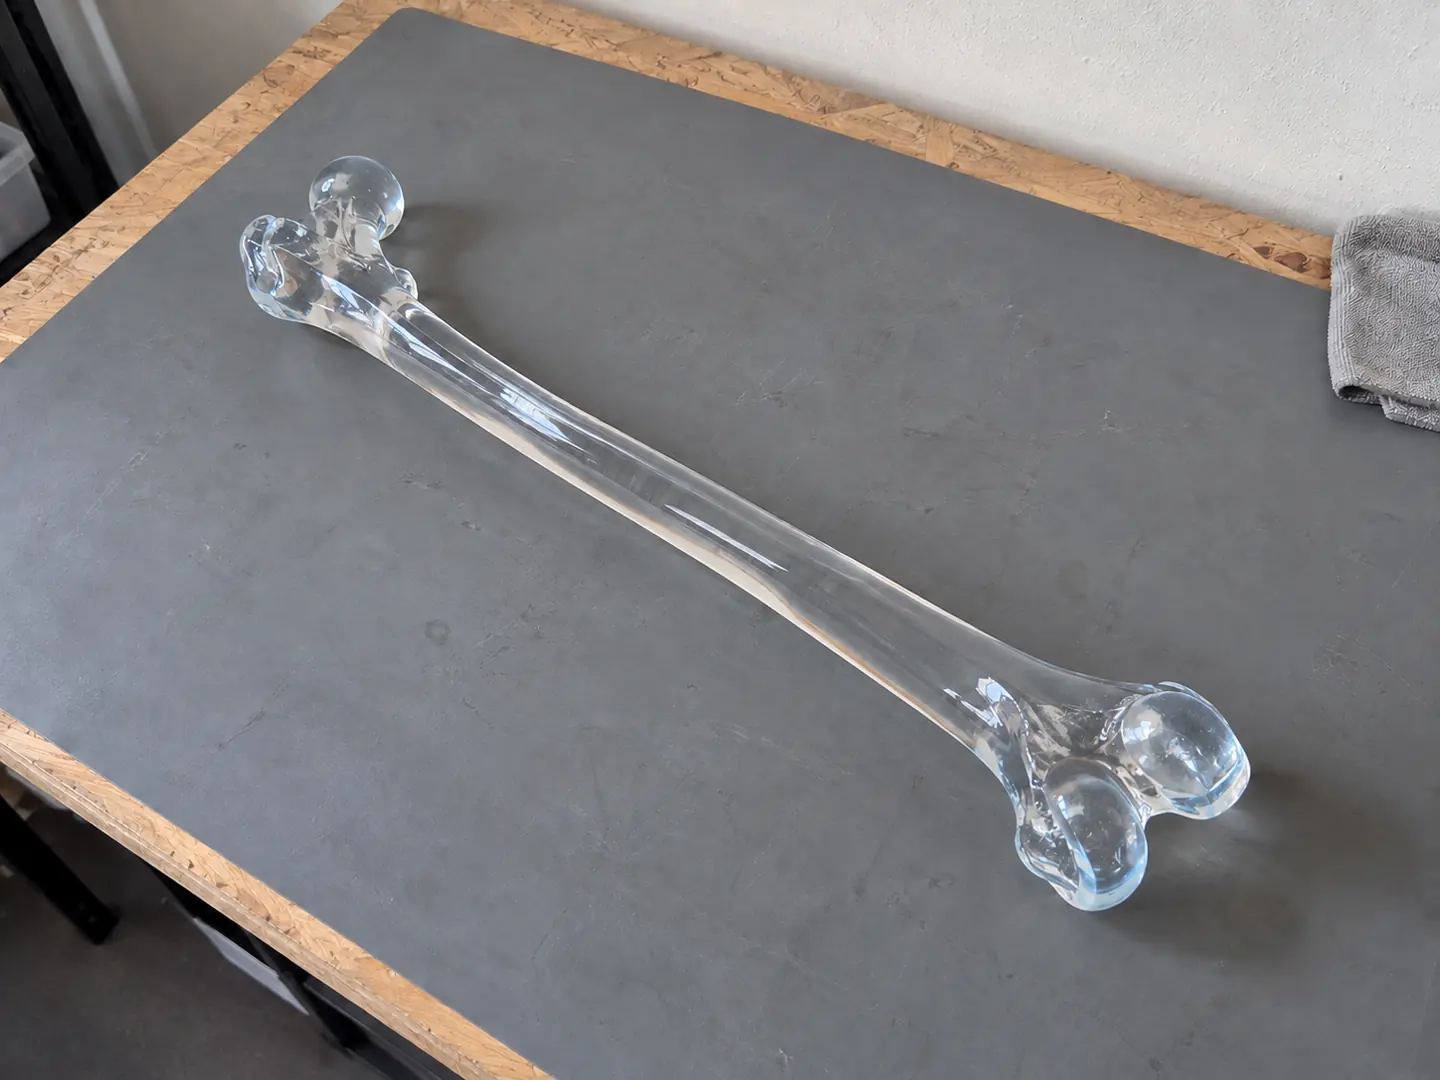
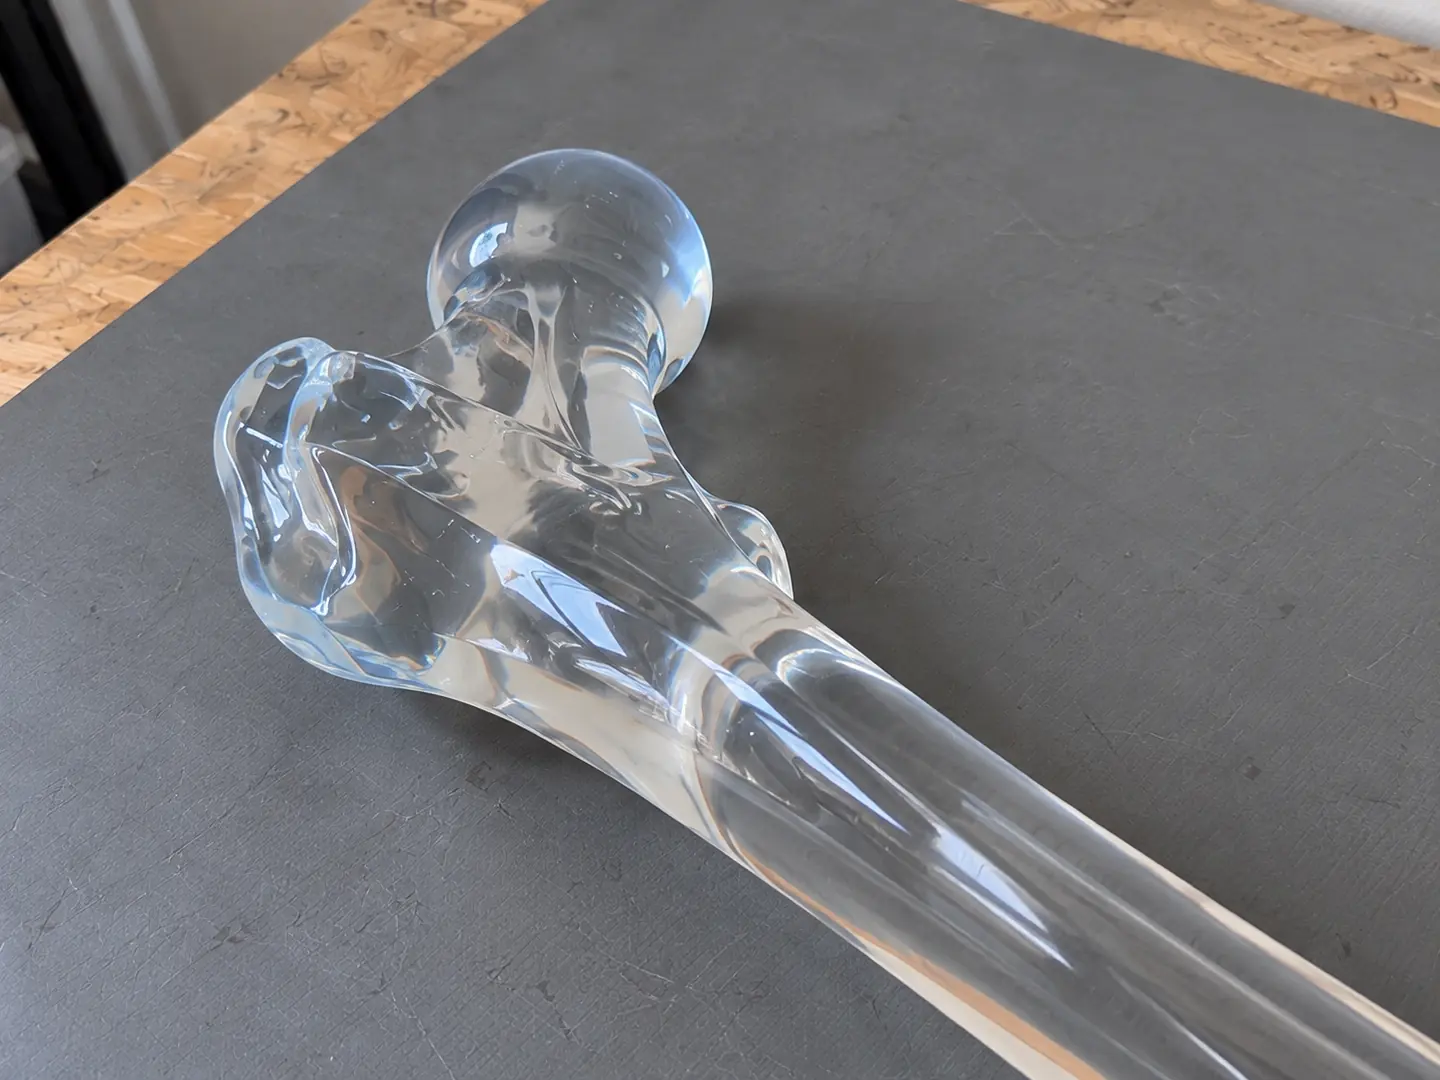
A femur model in glass-clear resin, with a faint blue tint.
Clear resin and surface finishing make the femur translucent through both the shaft and its thicker ends. The hand view shows the finished clarity rather than a rendering. For a transparent model, tell us what needs to be seen through the surface: thickness, access for finishing and viewing angle all affect the result.
View image ↗The transparent femur on the workshop bench.View image ↗Clarity and a faint blue tint at the femoral head.View image ↗A hand visible through the clear resin.
Working on something similar?
Describe it in a few sentences. You get a feasibility answer and a price range within one working day.